By continuing to use this site, you agree to our use of cookies.
The Best Way to Pack Picture Frames and Mirrors

Dec 13, 2024
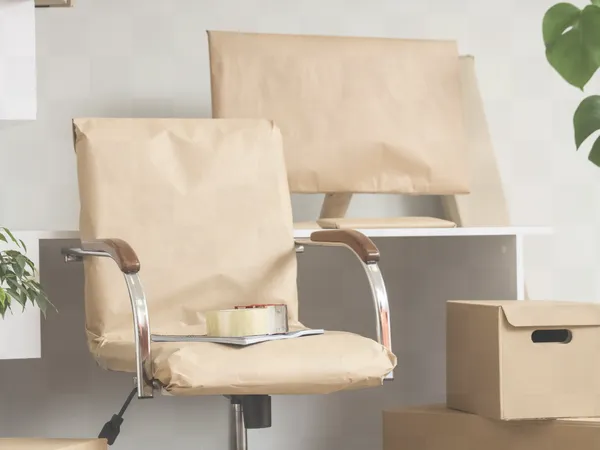
Packing your memories: moving picture frames
Displaying framed photos and artwork helps make a house feel like a home. You’ll want to protect these priceless memories when moving, so it’s important to pack everything well to ensure a safe arrival at the new place.
Check out these tips from the moving experts at U-Pack® to protect framed items during transit.
How to pack picture frames and mirrors
The last thing you want to discover while unpacking your favorite framed photos and mirrors is shattered glass or busted corners.
Follow these steps to pack everything safely for moving.
1. Gather materials
Here’s what you’ll need:
- Bubble wrap® or plastic stretch wrap
- corner protectors (cardboard or foam)
- masking or painter’s tape
- packing paper
- packing tape
- permanent marker for labeling or “fragile” stickers
- sturdy cardboard boxes (specialty artwork or flat-screen TV boxes work well)
Optional: Glassine paper or plastic wrap
2. Clean the frame
You’ll want to clean the glass surface of your items before getting started since dirt and dust can cause scratches. For best results, use a glass cleaner and a lint-free cloth.
After cleaning, you can also cover the glass with glassine paper or plastic wrap for extra protection.
3. Stabilize the glass
Place an "X" across the glass using masking or painter's tape. This step helps prevent the glass from shattering everywhere in the event of a crack during moving.
4. Add corner protectors
Use cardboard or foam corner protectors on the frame’s edges to absorb any impact from accidental bumps or drops during transit.
Can’t find corner protectors? You can make your own. Here’s how: Fold a 4 or 5-inch cardboard or foam square in half diagonally to form a triangle. Fold the two corners from the longest side of the triangle together. Tape closed the short side; now you have a corner protector!
5. Wrap the package
Completely wrap the frame in Bubble Wrap or plastic stretch wrap and secure it with packing tape.
6. Prepare the box
Put together the box (if needed) and reinforce the sides and bottom with packing tape. If possible, choose a box that fits snugly around the item.
Cushion the bottom of the box with Bubble Wrap or crumpled packing paper.
7. Secure the frame
Place your wrapped frame or mirror into the box. If you’re packing multiple items in the same box, separate each layer with flat cardboard or Bubble Wrap. Be careful not to put too many items in the same package so it won’t become too heavy.
Before sealing the box, fill any gaps on the sides and top with more Bubble Wrap or crumpled packing paper.
8. Label the box
Using a permanent marker, clearly label the box and indicate which side should face up. You can also use "FRAGILE" and arrow stickers.
Additional Tips:
- Avoid transporting frames and mirrors horizontally or stacking other items on top of the packages.
- Consider asking professional movers for help with extremely large mirrors or frames.
- Pack heavy and lighter frames separately to avoid crushing.
- Wear cotton gloves to protect clean glass and frames from oil or dirt on your hands.
How to pack photos
If you have loose photos to pack, it’s best to transport them in an acid-free photo box. These can be found online or in most craft stores. Tape the lids closed to avoid spilling your pictures, and then you can place several smaller boxes together inside a larger padded box for shipping.
It’s also a good idea to scan and back up your photos digitally to protect cherished memories. Several online album options are available, and most allow easy sharing with friends and family.
Have photo albums to move? Try this resource for moving books.
Moving canvas artwork
You can use the same steps to move unframed stretched canvas artwork. Just skip steps 2 and 3 from above since you won’t need to protect glass!
To transport flat canvas artwork (not on a wooden frame), it’s best to pack it in a cardboard tube. First, place the painted side down on a flat piece of acid-free paper. Next, loosely roll the artwork. Wrap the roll in Bubble Wrap or more packing paper. Place the roll inside the tube and secure the endcaps with packing paper.
Need more packing advice?
Besides packing your belongings well, choosing a reputable moving service like U-Pack is the best way to protect everything while relocating. We’re a safe and affordable DIY option with over 25 years of experience in long-distance moving.
Let us know in the comments if you have questions about packing your frames and mirrors or want to learn more about how U-Pack works.
More articles you might like...